

如何安装淋浴房套件
安装淋浴房套件是升级浴室的绝佳方式,而且麻烦最少。无论您是翻新现有空间还是建造新浴室,淋浴房套件都能提供高效而时尚的解决方案。本综合指南将引导您完成安装淋浴房套件的步骤,确保您获得无缝且专业的装修效果。
为什么选择淋浴房套件?
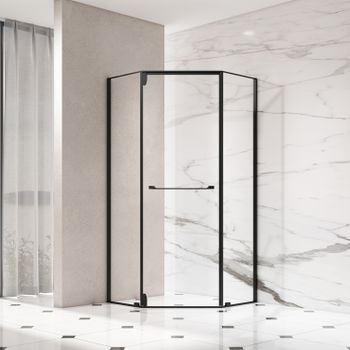
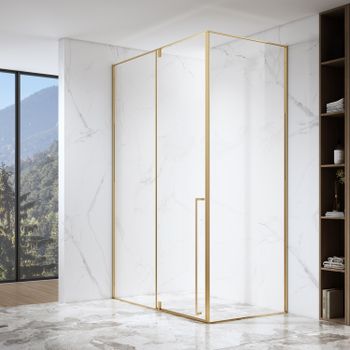
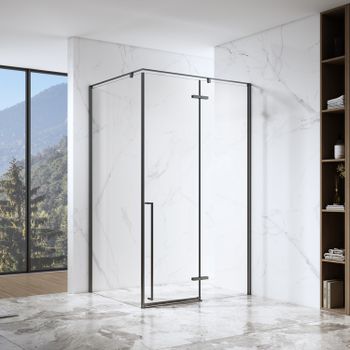
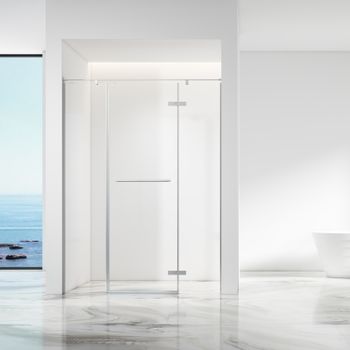
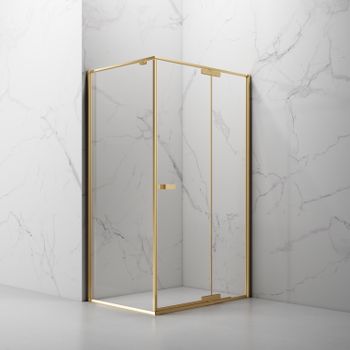
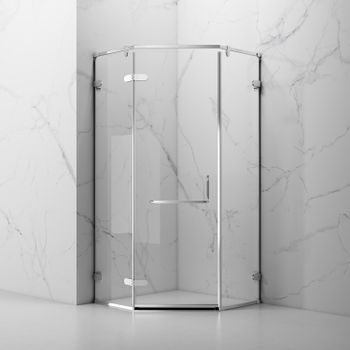
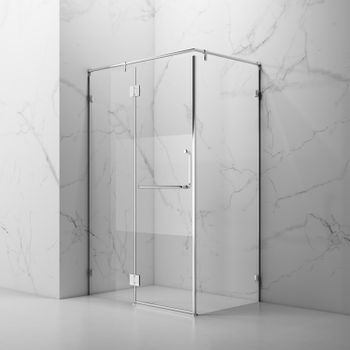
淋浴房套件是一种流行的选择,因为它们提供了快速轻松安装所需的一切。这些套件通常包括面板、门、框架和必要的硬件。通过选择 Fusa Shower 等值得信赖的品牌的淋浴房套件,您可以享受耐用且时尚淋浴解决方案 可增强浴室的功能。这些套件专为完美适配标准淋浴空间而设计,采用优质材料制成,确保长久使用且易于维护。
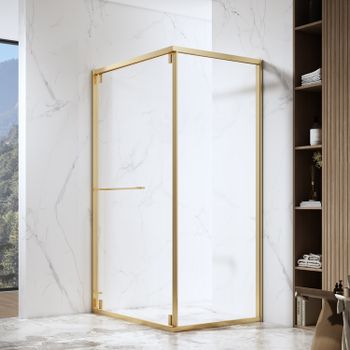
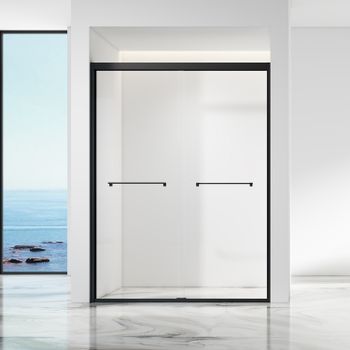
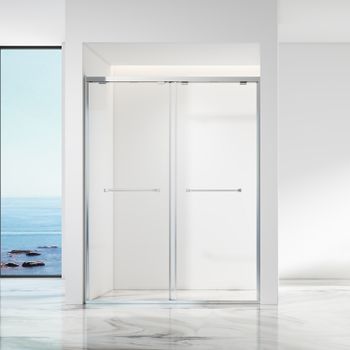
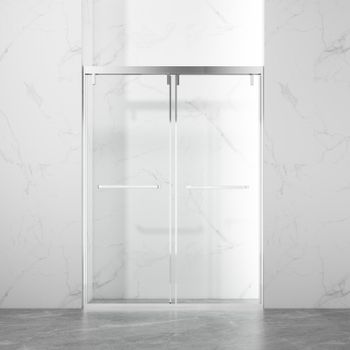
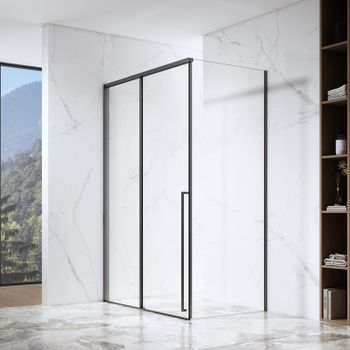
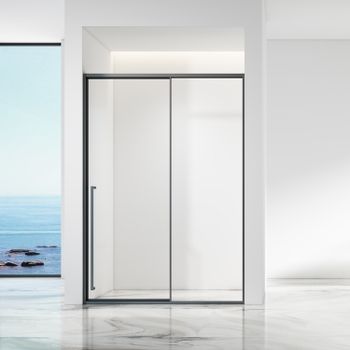
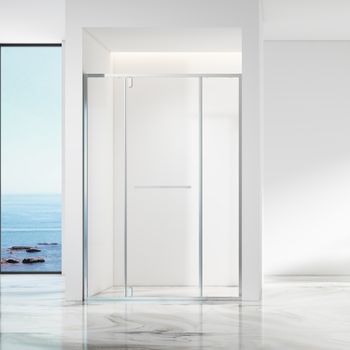
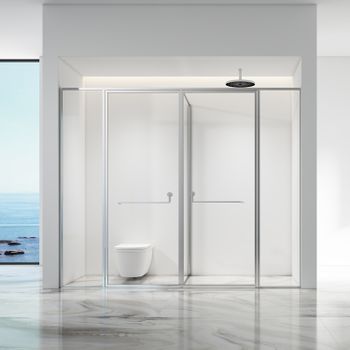
有各种选项可供选择,从滑动门到铰链式淋浴房,选择合适的淋浴房套件可以让您创建一个适合您的风格和需求的现代化、防水的淋浴区。
安装淋浴房套件需要什么
在开始安装过程之前,请确保您拥有所有必要的工具和材料。以下是成功安装淋浴房套件所需的工具和材料:
- 淋浴房套件(墙壁、门、框架和硬件)
- 卷尺
- 水平工具
- 钻头和钻头
- 螺丝刀
- 硅酮密封胶(防水用)
- 用于标记测量值的铅笔或记号笔
- 防护手套和安全眼镜
- 填缝枪(用于涂抹硅酮密封胶)
这些工具将确保您的安装既准确又安全。提前准备好一切将使安装过程更快、更顺利。
分步指南:如何安装淋浴房套件
1. 准备安装区域
安装淋浴房套件的第一步是准备区域。这意味着要确保安装淋浴的空间干净且平整。如果您要更换旧淋浴房,请小心拆除现有的门、墙壁和硬件。在开始安装之前,请确保地板和墙壁表面光滑干燥。
2. 测量淋浴面积
准确的测量是成功安装的关键。使用卷尺测量淋浴空间的宽度、高度和深度。将这些测量值与淋浴房套件的规格进行比较。这可确保套件完美适合指定区域。在继续操作之前,请务必仔细检查您的测量结果,因为不匹配可能会导致不合适。
3. 安装墙板
准备好区域并测量准确后,即可开始安装墙板。首先标记要安装墙板的位置。使用水平仪确保墙板完全垂直并对齐。按照制造商的说明使用提供的螺钉和锚固件将墙板固定到位。墙板应牢固安装,以防止随着时间的推移而移动。
4. 安装淋浴门框
面板安装到位后,下一步是安装淋浴门框架。此框架充当淋浴门的支撑结构,因此必须正确对齐。对于来自的淋浴房套件Fusa 淋浴,框架设计易于组装和安装。组装后,使用提供的支架将框架固定在墙上,确保其水平且牢固固定。
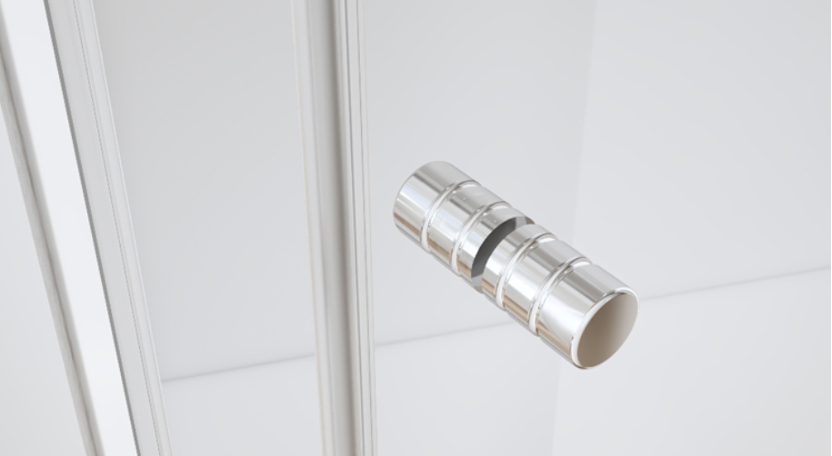
5. 安装淋浴门
现在框架已经就位,是时候安装淋浴门了。根据您的淋浴房套件,您可能有推拉门、铰链门或双折门。按照制造商的说明,小心地将门安装到框架上。固定门后,通过打开和关闭它们进行测试,以确保移动顺畅。进行任何必要的调整,以确保门对齐并正常运行。
6. 涂抹硅酮密封胶
为防止漏水,请在淋浴房套件的边缘涂抹硅酮密封胶。这是安装过程中的重要步骤。使用填缝枪沿着墙壁、门框和地板与表面接触的周边涂抹一圈连续的密封胶。用湿手指或工具抹平硅胶,以确保密封干净、防水。此步骤有助于保护您的浴室免受水损害,并确保淋浴房套件保持防水。
7. 测试外壳
安装完成后,是时候测试您的淋浴房套件了。放水检查门和墙壁周围是否有泄漏。确保门可以顺利打开和关闭,没有阻力。如果您发现任何缝隙或问题,您可以调整门框或重新涂抹硅酮密封胶以获得更好的密封效果。
成功安装的其他提示
- 慢慢来:不要急于完成安装过程。仓促安装可能会导致错误或安装不当。
- 仔细按照说明操作:每个 淋浴房套件 根据品牌或设计,使用说明可能略有不同。阅读并遵循制造商的指南以获得最佳效果非常重要。
- 使用助手:有些步骤,例如搬运较大的面板或安装门框,两个人一起做可能会更轻松。考虑请朋友或家人帮忙。
- 检查级别:确保的所有部分 淋浴房套件 在将门固定到位之前,确保门是水平的。这可确保门能正常关闭并防止漏水。
- 维护密封剂:安装后,请定期检查硅酮密封胶,以确保其完好无损且防水。如有必要,请重新涂抹。
结论
安装淋浴房套件是一项可管理的项目,可以显著改善浴室的外观和功能。按照本指南中概述的步骤,您可以自信地安装淋浴房套件并获得专业效果。Fusa Shower 提供各种高品质淋浴房套件,旨在轻松安装和持久耐用。有了合适的工具、耐心和对细节的关注,您很快就会拥有一个令人惊叹且实用的淋浴房。